Administrators build forms from the Custom Forms area. Start from a controlled document, define the form name and default title field, then place and configure the fields used by the module.
Create the form record
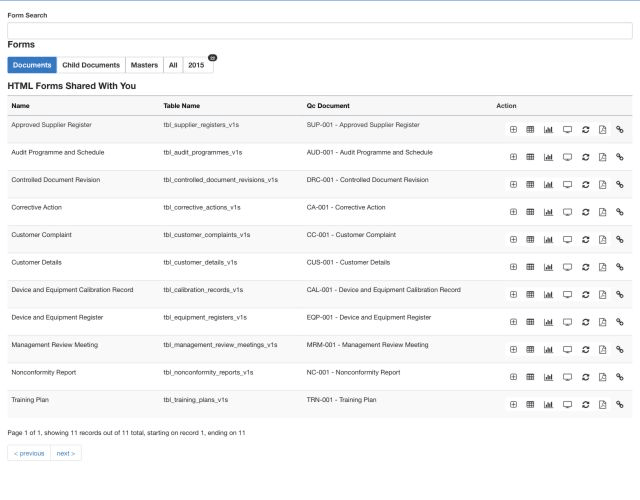
- Open Custom Forms and choose the appropriate collection: Documents, Child Documents, Masters or All.
- Select Add and link the form to its controlled document where required.
- Enter a clear form name. FlinkISO generates the underlying table name and version.
- Choose the default field used to identify records in lists and links.
- Set a form password when the builder action requires administrator re-authentication.
Add and arrange fields
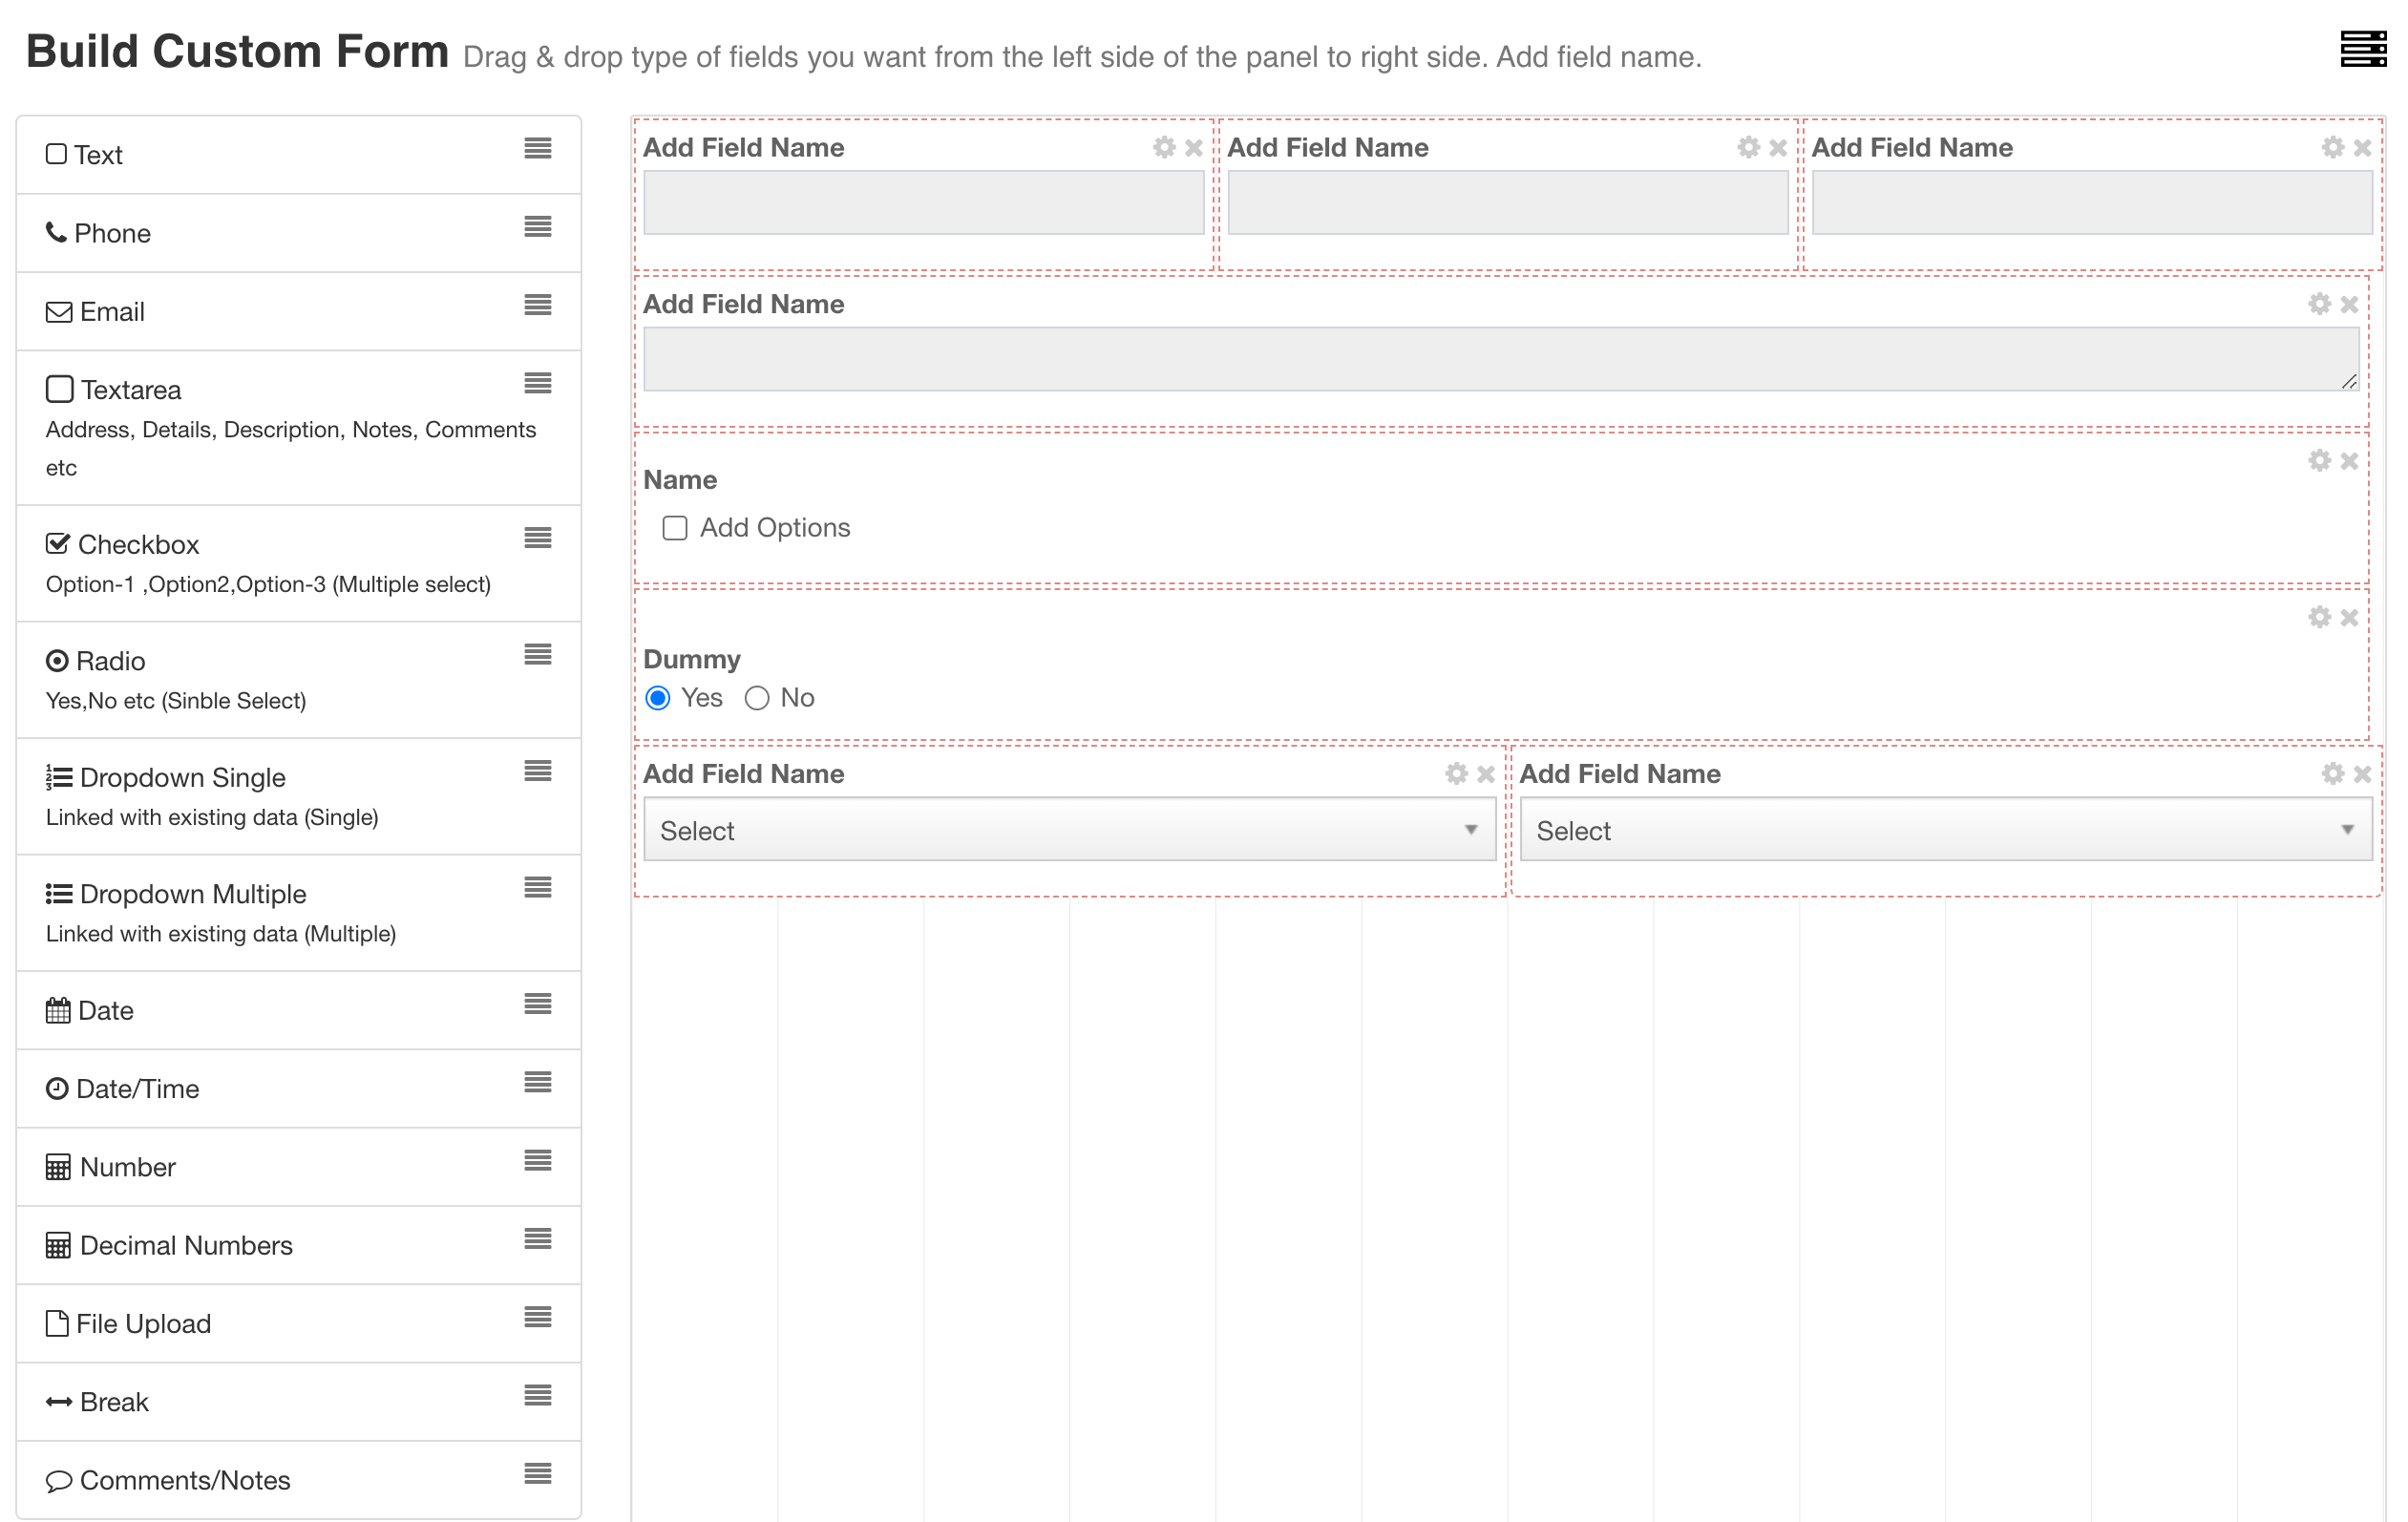
- Drag a field type from the available list into the form canvas.
- Enter its label and field name, then choose size, required status, default value and the appropriate field settings.
- Arrange fields in the order users should complete them. Use the grid width to place compatible fields on the same row.
- Add Break or section-heading fields where the form needs a clear visual division.
- Save and generate the form, then inspect Add, Edit and View pages.
Organise a long form with tabs
Give fields an optional tab name. Fields with the same tab name appear together. Group and sequence values control tab order and where tab groups appear among fields that are not inside a tab. Child forms can use their own tab settings.
Place child content
Use the Child Forms builder field to choose one or more repeatable child forms and place them between normal fields. Use the separate Child Document Forms configuration when the related record has its own controlled document. Existing child document records appear on Edit; new ones are started from View.
Configure the generated module
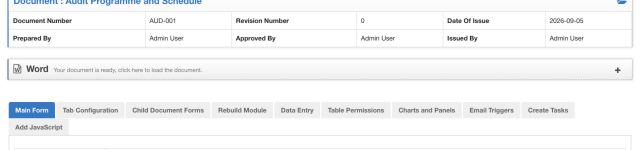
The live configuration page provides Main Form, Child Document Forms, Rebuild Module, Data Entry, Table Permissions, Charts and Panels, Email Triggers, Create Tasks and Add JavaScript. Configuration content loads when its tab is selected.
Rebuild without losing records
Use Rebuild Module after changing a saved definition. It regenerates the main form, every Child Form and every Child Document Form from saved JSON while preserving configured fields, tab settings, relationships, table settings and existing records.